Hey there.
I already did this trick to improve my solitaire ( the basic miniature gave me the idea, with already some diamonds poping out of the miniature cape ) and for a long time I wanted to do the same to my shadowseer.
Finally got the time and bravery for doing it, and I said to myself, hey, why not doing a tutorial for the guys..
So here it is.
The main goal here is to add (more) diamond shaped parts to a miniature, both on it and 'around' it in order to simulate the domino field effect : shattered light and colors.
It was less time consuming than I expected, took me ~a whole afternoon (5-6 hours).
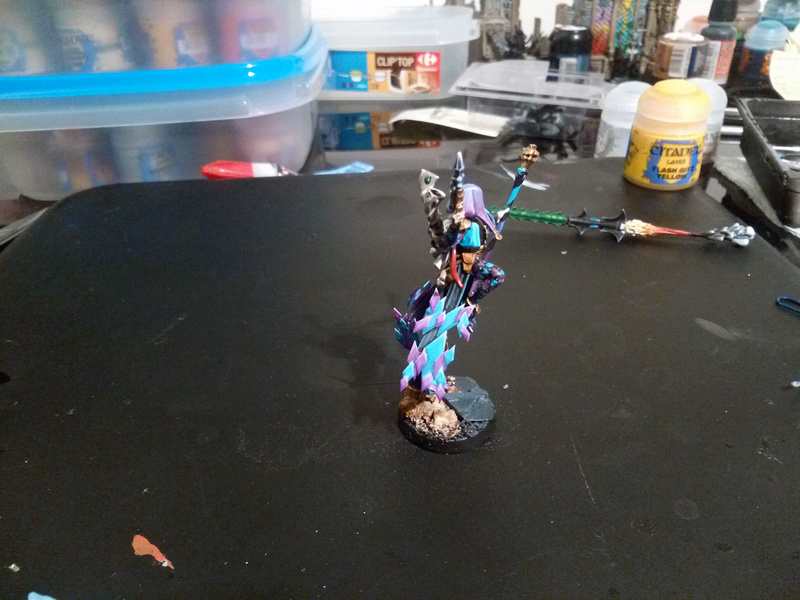 Step 1 / Making diamond shapes
First of all, we are gonna make diamond shape so we can use them. I used to paint some in "trompe l'oeil style" (
#baguette) but honestly it's a pain.
Here's my alternative :
Take an empty blister box (plastic)..
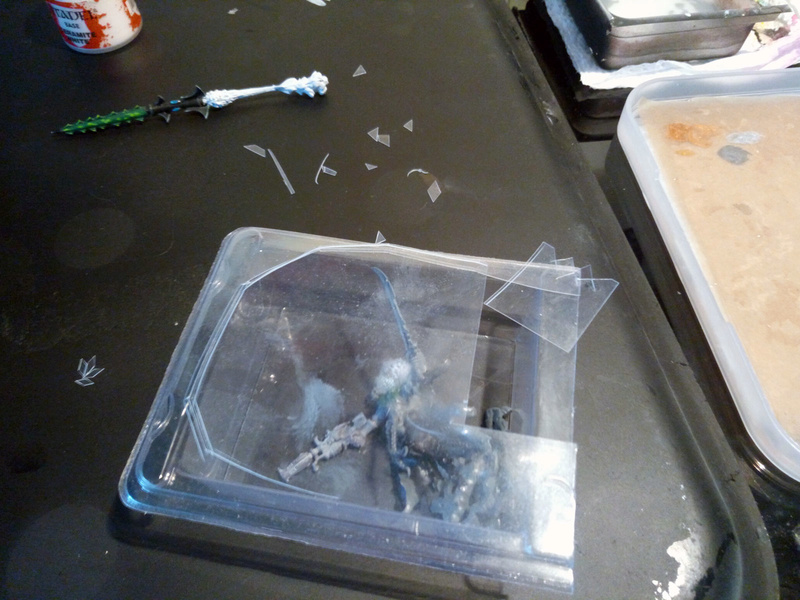
.. and cut paralell line into it (simple scissors will do )
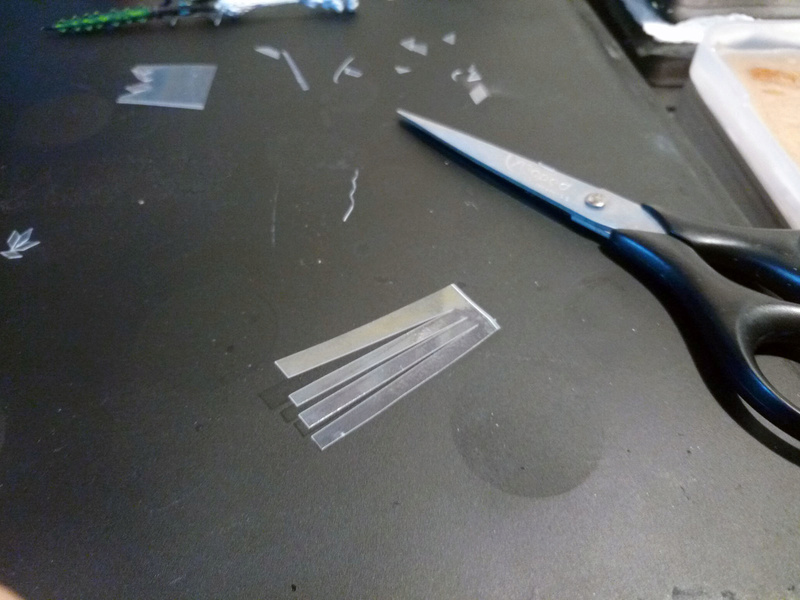
Then cut from another angle roughly less than 45°
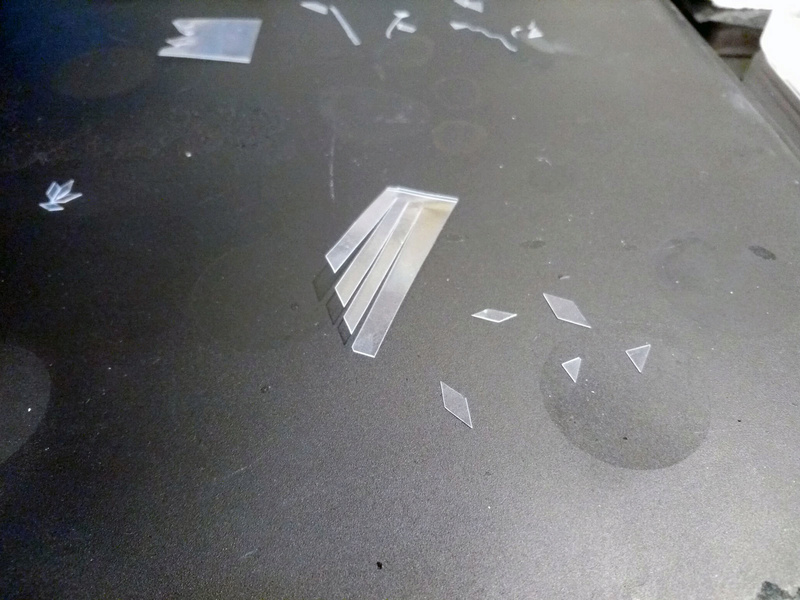
From here, cut parralell lines to produce load of diamonds quickly.
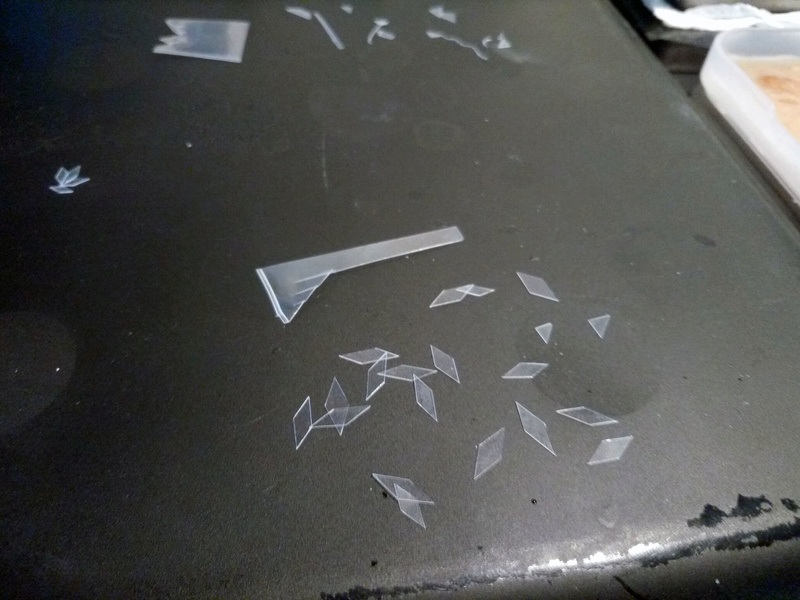
For a nice effect, I recommand having several sizes (I got big, medium and small)
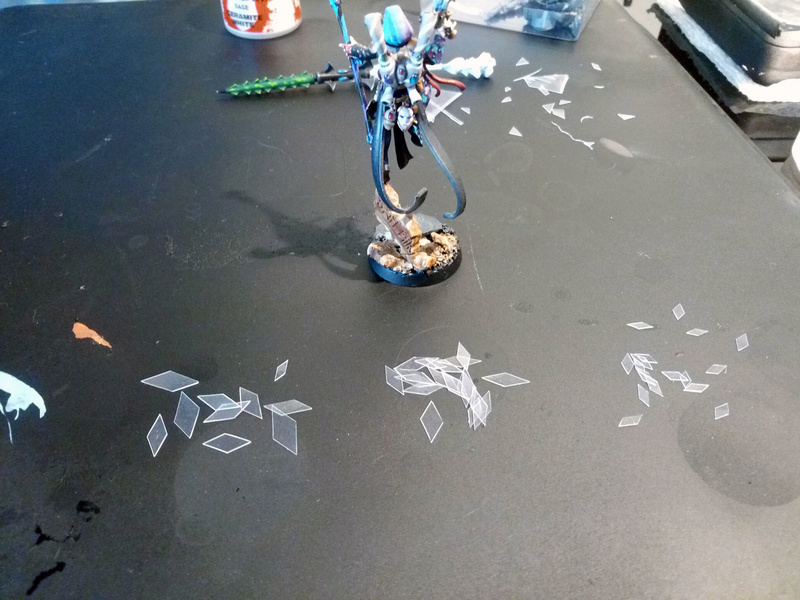 Step 2 / Gluing diamond
Now it's time to assemble and glue. I highly recommand using tweezers for precision.
Simply add some superglue (it's easier with gel superglue) to your palette (or any other support, I used my safety tray), take a diamond a 'dip' it in the glue, ~half on one size.
For big ones I also use paperclips to transfer glue in the middle of it.
So, I'd recommand fixing a couple of big ones, preferably in the middle and to the extremities. Don't add much.
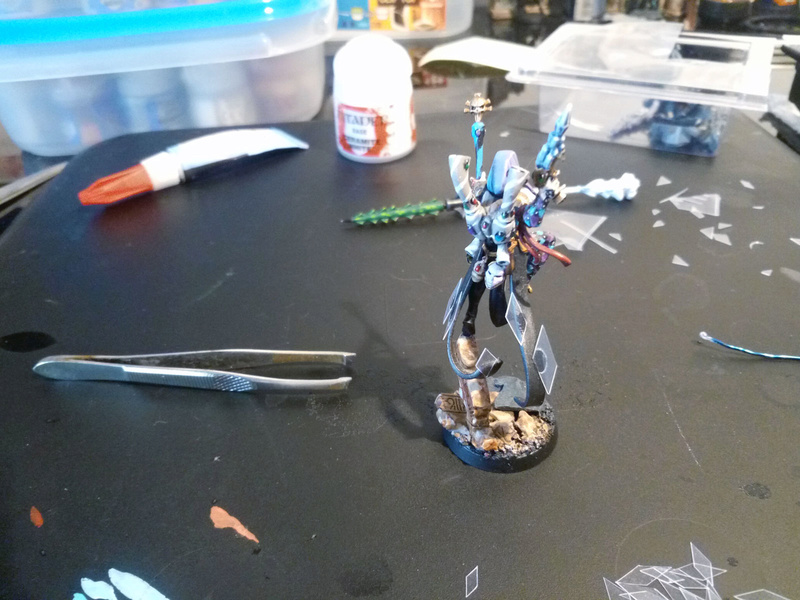
Then add some medium diamonds. Preferably over the top of big ones, but sightly off them.
Just try to go regular arlequins patterns, or whatever pleases you

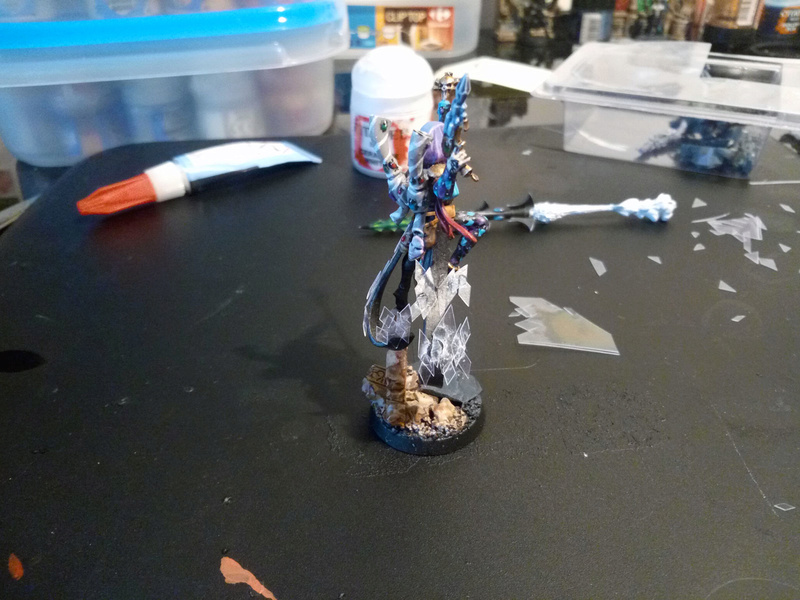
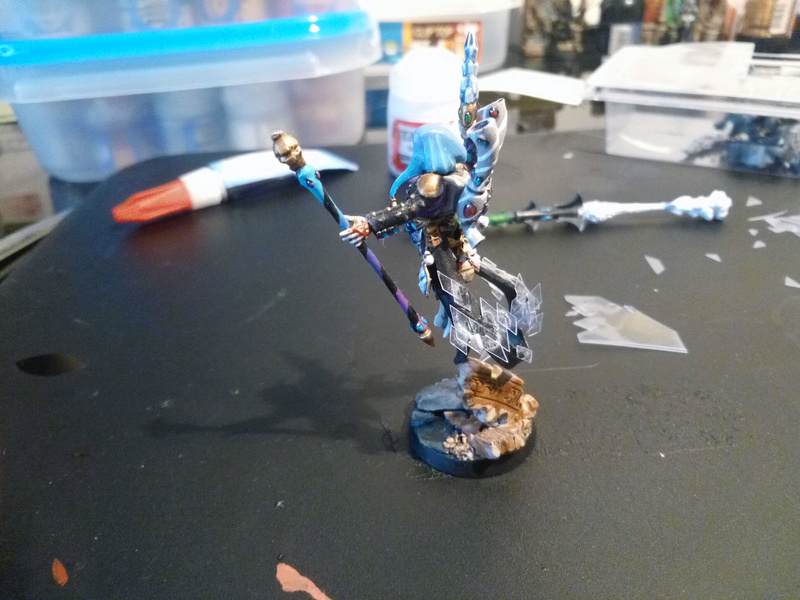
Then add the little ones at the edges, same process as before.
If this doesn't speak to you, just go all lemmings and imagine you're building a stair 
.
During this process I don't recommand going over 3-4 layers, as it will be really fragile.
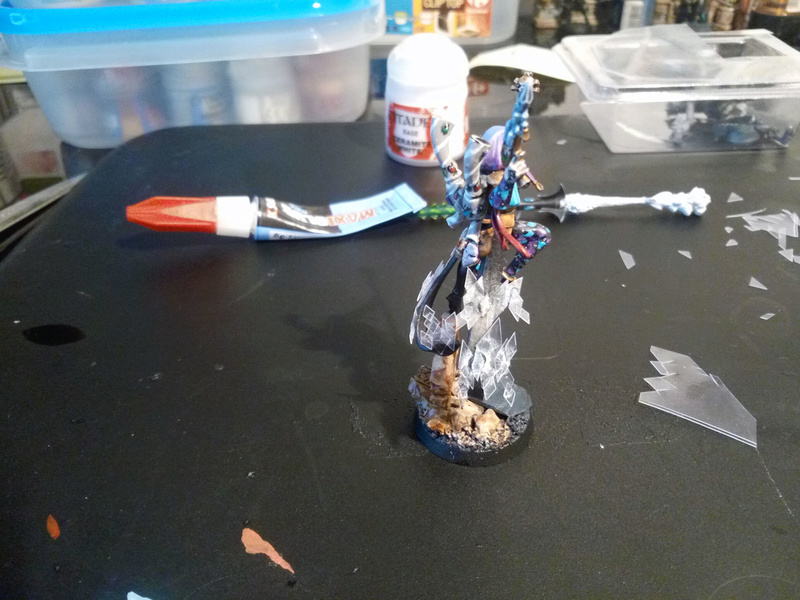
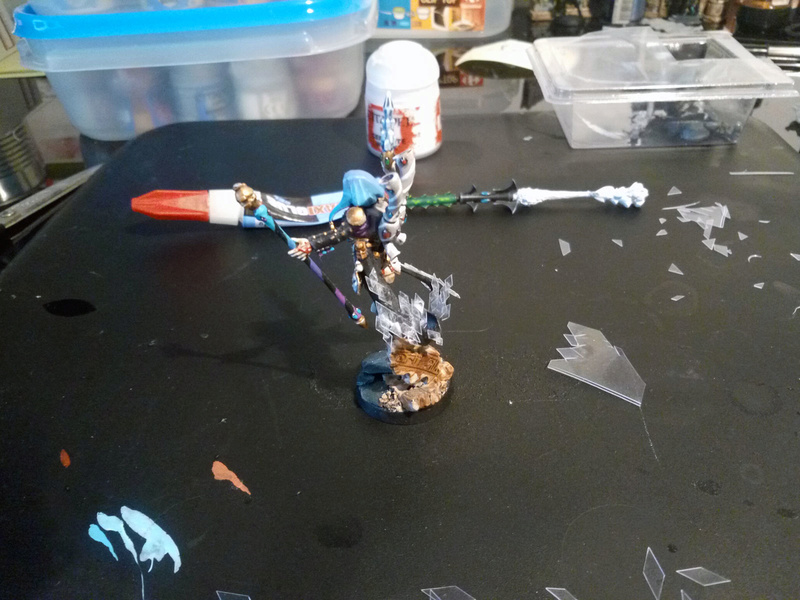
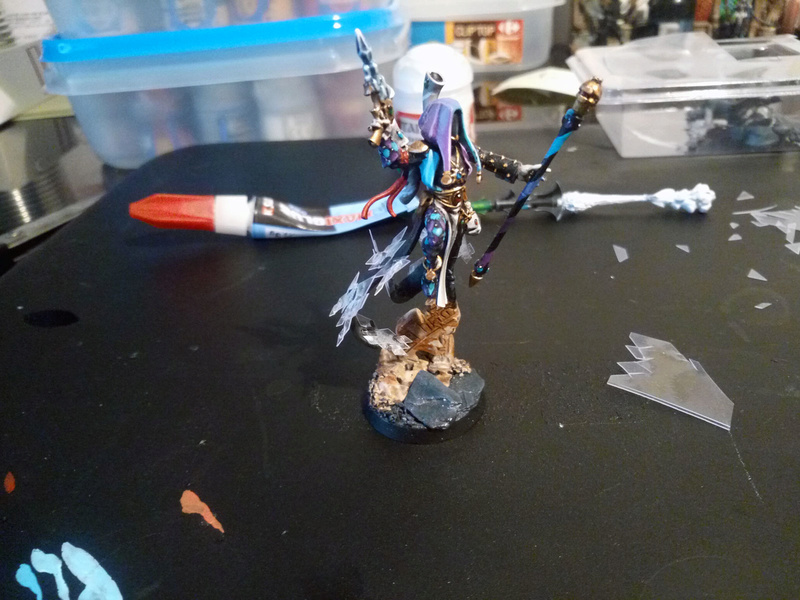 Step 3 / Going hard
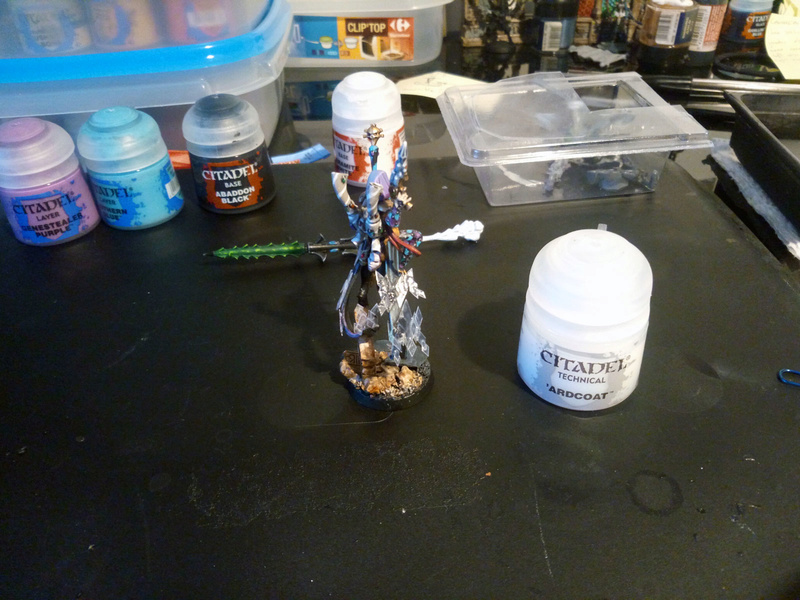
corecoatYeah I know we shouldn't use plastic and stuff because paint really doesn't stick to it, even primers.
But hey, there's a solution to that : varnish.
Just apply a thin layer (I usually dilute it with 1/3 - half water), wait for it to dry and you'll be good to go.
(Also painted the fabric during this process)
 Step 4 / Painting diamonds, yay
And then it's the usual base / shadow / highlights stuff.
I got several pictures here so I'll put them in spoilers in order to keep things simple and ~short.
- spoiler:
Step 4.1 / First base color

 Step 4.2 / Second base color
 Step 4.3 / Shading, shadows
I did 2 layers of shadowing. First one with half main color (ex: GW enestealer purple), half darker color (ex : xereus purple) and a drop of lahmia.
Going on the bottom edges (full length), and also on diamonds joints, on the bottom part.
I'm usually trying to be 2x thicker than the second shading.
Second shading : on the bottom edges (halves, the bottom parts) with pure dark color, mixed with water.
 Step 4.3 / Highlights
Same technique as the shadows, but on the upper edges. If there isn't a brighter/darker color to mix with, use white and black.
I did 3 highlights (the thrid was a 90% GW white scar, 10% precedent highlight, only 0.5mm on the upper edge)


Step 5 (optionnal) / Selective varnishGo varnish only your diamonds, on a darker background they will pop out even more
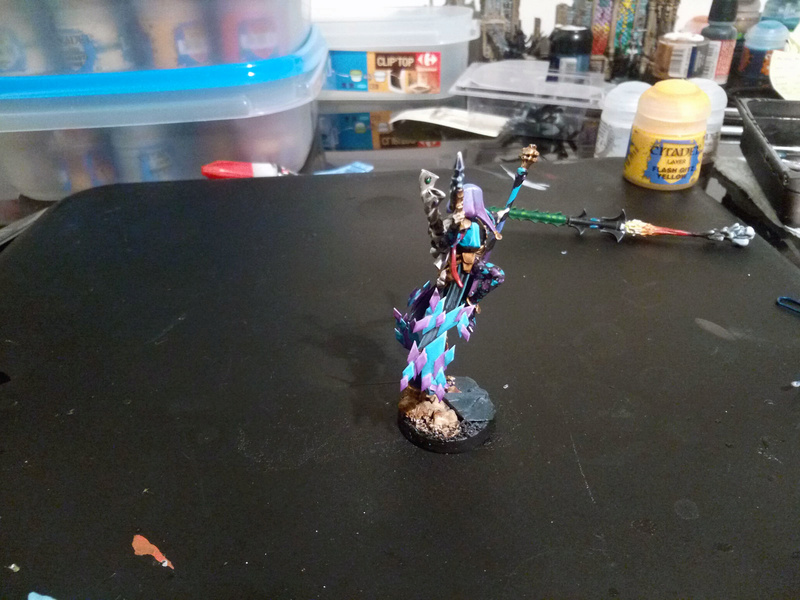 Showcase
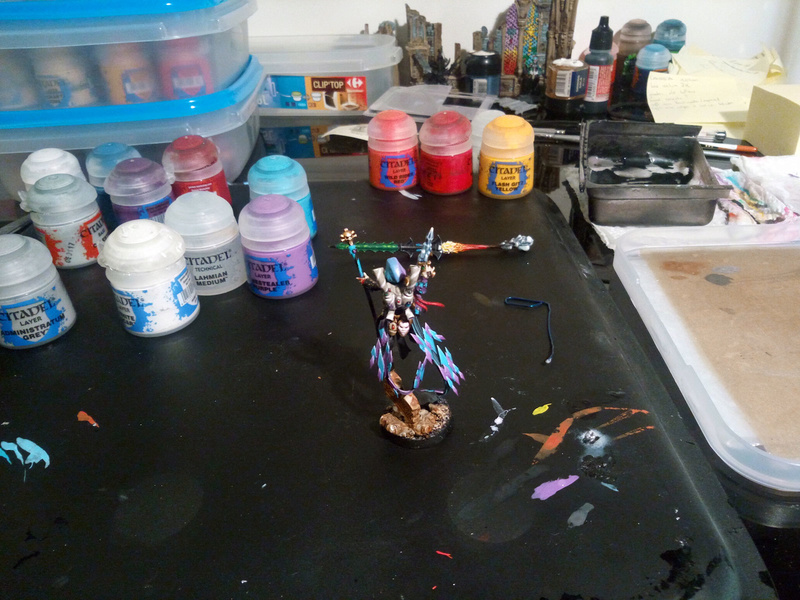
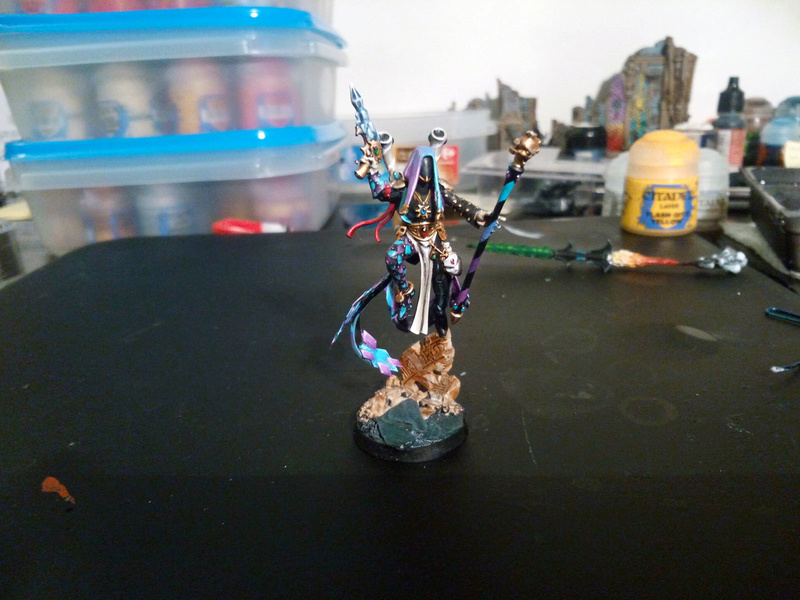

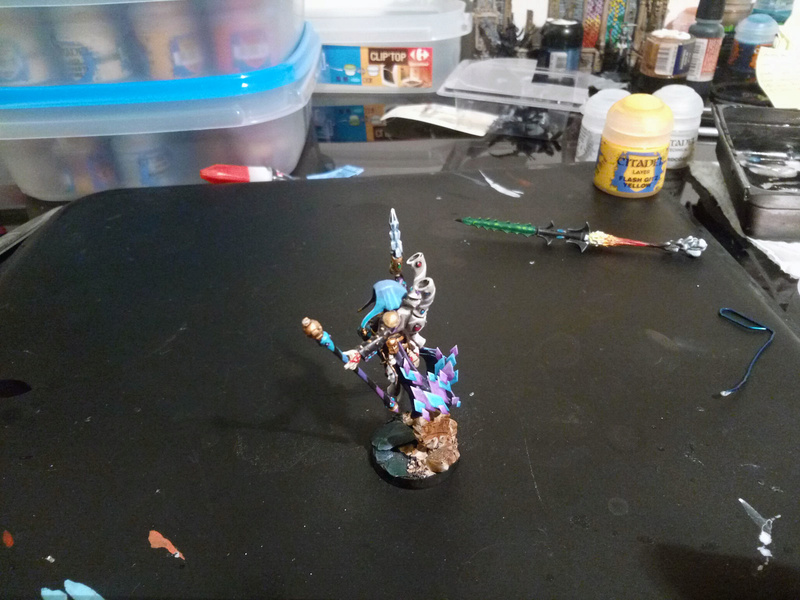

Hope you'll like it.
Edit PS : Note that you can use the blister plastic + 'ardcoat to do pretty decent purity seals too, for other armies. Even better it's kinda flexible and stays in place, for cinematic effects.
Example w. battle sisters Celestine :

